
Why Is My Upstairs Colder Than My Downstairs? Toronto Attic Insulation Check
If your upper floors are noticeably colder than the main floor, especially in late fall and winter, attic insulation is often the cause. Inadequate R-value, air leaks around the hatch and penetrations, or blocked soffit vents allow heat to leave through the roof. Addressing these issues before freeze-up improves comfort and can reduce heating costs in Toronto detached homes.
You might notice a distinct chill when you walk upstairs, even when the thermostat downstairs feels comfortable. The furnace runs, but the warmth does not seem to reach the bedrooms as effectively. Sometimes you can feel a slight draft near exterior walls or ceilings on the upper floor.
This is a common issue in Toronto detached homes, including properties in Forest Hill, Rosedale, Leaside, Willowdale, and the Beach. The attic above those colder upstairs rooms is usually the first place to investigate.
Why Is My Upstairs Colder Than My Downstairs in Toronto?
A colder upstairs in a Toronto home typically means heat is escaping through the roof or cold air is entering from outside, often because attic insulation is insufficient. Heat rises naturally. If the upstairs is colder than the main floor, there is usually a thermal weakness at the top of the house.
Late fall is a practical time to assess this. Once winter sets in, attic work becomes harder, and ice dams are more likely on roofs with weak insulation and poor ventilation. Several factors commonly contribute:
- Inadequate Insulation R-Value: Older homes, or homes built only to the minimum standards of their day, may not have enough insulation. R-value measures thermal resistance; a higher R-value means better insulation. An attic that was acceptable 20 years ago may sit well below current targets.
- Air Leaks: Warm air from living space can leak into the attic through light fixtures, plumbing stacks, wiring holes, and attic hatches. That warm, moist air then condenses and drives heat loss.
- Improper Ventilation: Insulation slows heat transfer. Attic ventilation manages moisture and attic temperature. Poor ventilation reduces insulation performance and can contribute to ice dams and moisture damage.
- Ductwork Issues: Heating ducts in an unconditioned attic lose heat if joints are open and the ducts are under-insulated.
- Windows and Doors: Old or poorly sealed upper-floor windows and doors can add drafts, though they rarely explain a whole-floor temperature difference on their own.
Addressing attic insulation is often the most impactful first step because it forms a critical part of the home’s thermal boundary.
Understanding R-Value in Ontario
The Ontario Building Code sets minimum attic insulation requirements. Many older Toronto homes still have R-12 to R-35 in the attic. Current best practice for comfort and energy performance in the GTA is often R-50 or higher. Always verify current OBC and City of Toronto Building Division requirements for your specific project.
How Do I Check My Attic Insulation and Identify Problems?
Checking your attic insulation involves a visual inspection for depth, type, and signs of damage or air leaks. This is a preliminary assessment. A professional energy audit provides more detail if you need rebate documentation or a full air-leak evaluation.
Before you or a contractor enter the attic, ensure the space is safe. Wear a respirator, gloves, and eye protection. Bring a strong flashlight and a tape measure. Stay on the joists to avoid stepping through the ceiling.
Attic Inspection Checklist
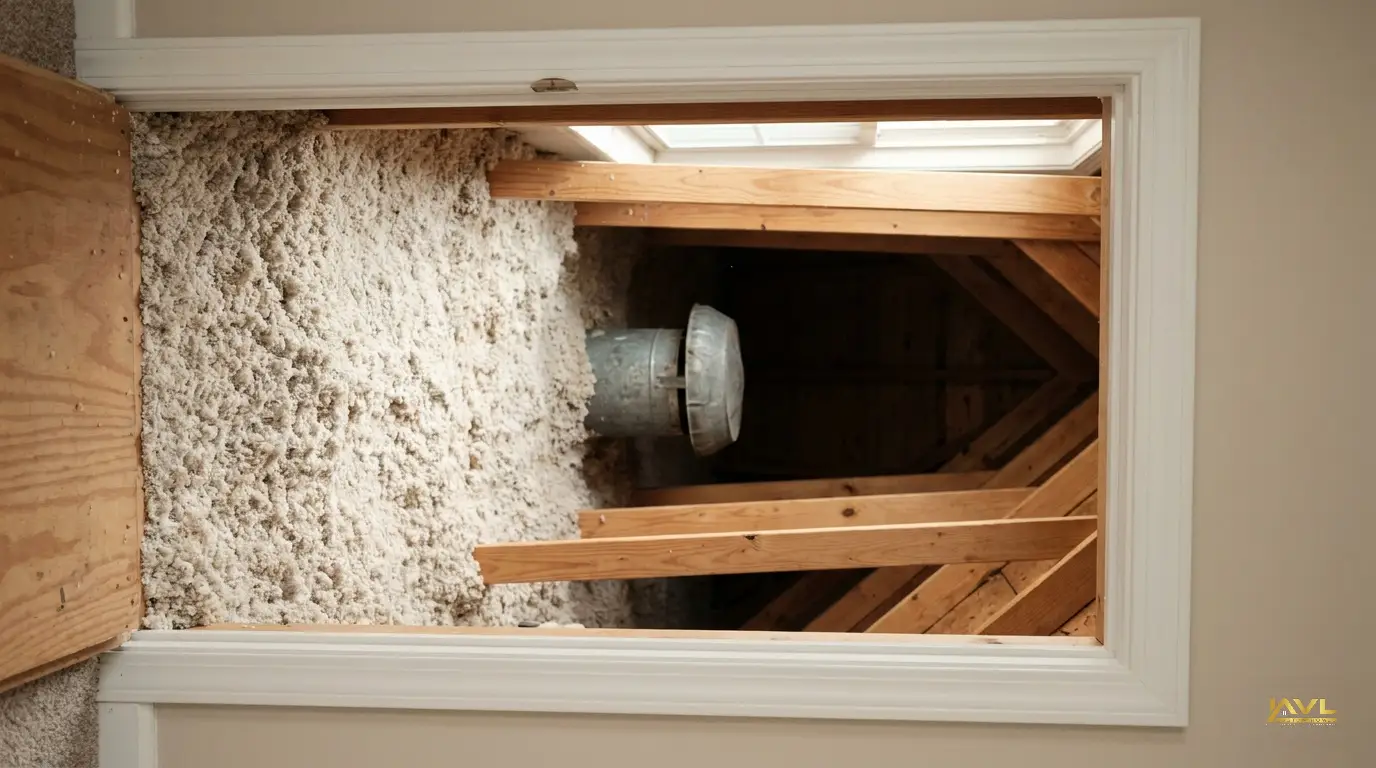
- Measure Insulation Depth: Check the depth of the existing insulation at the eaves and in the middle of the attic. Different insulation types have different R-values per inch. For blown-in cellulose or fiberglass, look for consistent depth, often about 18 to 22 inches for roughly R-50 or more.
- Identify Insulation Type: Common types include fiberglass batts, blown-in fiberglass, and blown-in cellulose. Each has a different R-value per inch.
- Look for Inconsistent Coverage: Check for areas where insulation is thin, compressed, or missing, especially near the eaves, around the access hatch, and at the perimeter.
- Inspect for Air Leaks: Look for staining or darkened insulation, which can indicate air leakage where warm, moist air has condensed. Common leak spots include chimney chases, knee walls, plumbing vents, electrical conduits, recessed light fixtures, and the attic hatch perimeter. Confirm recessed lights are IC-rated before covering them with insulation.
- Check for Moisture or Pest Damage: Look for water stains or mold from roof leaks or condensation, and for rodent nests or droppings that compress insulation and reduce its effectiveness.
- Examine Ventilation: Ensure soffit vents are not blocked by insulation, and confirm the attic has adequate ridge or gable exhaust.
- Assess Ductwork: If HVAC ducts run through the attic, ensure joints are sealed with mastic or foil tape — not cloth duct tape — and that the ducts are properly insulated.
This assessment helps you determine whether a meaningful upgrade is needed. For ongoing seasonal checks, consider an Annual Home Maintenance Plan in Toronto.
What Are the Common Attic Insulation Solutions?
Common attic insulation solutions include adding blown-in insulation, sealing air leaks, and improving ventilation so the thermal barrier works as intended. The right mix depends on existing conditions and the R-value you want to reach.
- Adding Blown-In Insulation: This is often the most cost-effective way to increase attic R-value. Blown-in cellulose or fiberglass can be added over existing insulation, filling gaps and achieving higher depths. In the GTA, a typical blown-in top-up runs about $2,500 to $6,500.
- Air Sealing: Sealing air leaks is critical before adding more insulation. Expanding foam or caulk closes gaps around penetrations and joints in the attic floor. This prevents conditioned air from escaping into the attic and reduces moisture problems.
- Upgrading Batt Insulation: If the attic uses fiberglass batts, these can be replaced or augmented with higher R-value batts. This is more labour-intensive than blown-in, but it can make sense when the attic floor needs to be exposed for other work.
- Improving Ventilation: Proper airflow from soffit to ridge vents helps prevent moisture buildup and keeps the attic cooler in summer. This may involve clearing blocked soffit vents, installing baffles, or adding venting.
- Insulating and Sealing Ductwork: If HVAC ducts run through the attic, sealing all joints and insulating them to about R-8 can reduce heat loss and improve system efficiency.
Combining air sealing, insulation depth, and clear ventilation usually produces the best results for upstairs comfort.
Permit Requirements for Insulation Upgrades in Toronto
For most basic attic insulation upgrades, a building permit may not be required if the work is limited to adding insulation and does not involve structural changes, changes to the exterior building envelope, or alterations to mechanical systems. If the work includes modifying the roof structure, adding new ventilation openings that penetrate the roof deck, or extensive interior alterations, a permit from the City of Toronto Building Division will be necessary. It is always best to confirm with the City before starting any work.
What Are the Costs and Potential Rebates for Attic Insulation in the GTA?
The cost of upgrading attic insulation in the GTA typically ranges from $2,500 to $6,500. Utility and municipal rebates can offset part of that expense, but programs change often.
Final cost depends on the existing R-value, the desired R-value, the type of insulation chosen, the extent of air sealing required, and attic accessibility.
| Service/Upgrade | Typical Cost Range (GTA, 2026) | Notes |
|---|---|---|
| Adding blown-in insulation to R-50+ | $2,500 - $6,500 | Most common top-up for detached homes. |
| Air sealing (attic floor penetrations) | $500 - $2,000+ | Should be completed before adding insulation. |
| Attic duct sealing and insulation | $800 - $2,500+ | Applies when ducts run through the attic. |
| Hazardous-material testing / abatement | Quoted separately | Common on pre-1990 homes before disturbing old materials. |
Toronto and GTA homeowners should check current Enbridge, provincial, and municipal energy efficiency programs with a certified energy advisor. Pre- and post-retrofit assessments are often required to qualify. Confirm the current offer for your postal code before you book work, as rebate amounts change.
What Is the Process for an Attic Insulation Upgrade in Toronto?
An attic insulation upgrade typically involves an initial assessment, air sealing, insulation installation, a ventilation check, and final inspection. I approach these projects in this sequence:
- Initial Assessment and Quote: A qualified contractor inspects the attic, assesses existing insulation, identifies air leakage points, and evaluates ventilation. The quote should outline scope, materials, target R-value, and any rebate requirements.
- Hazardous Material Testing (If Applicable): If the home is older, especially a pre-1990s property in areas such as Willowdale or Leaside, testing for hazardous materials like asbestos is recommended before disturbing existing insulation. Skipping this step can lead to significant remediation costs and health risks.
- Permit Confirmation: Confirm with the City of Toronto Building Division whether a permit is required for your specific scope of work.
- Preparation and Protection: The work area is prepared, including protecting interior spaces from dust and sealing off the attic access point.
- Air Sealing: Technicians seal penetrations and gaps in the attic floor using expanding foam, caulk, and appropriate barriers.
- Insulation Installation: New insulation, typically blown-in cellulose or fiberglass, is installed to the specified R-value with consistent depth and coverage.
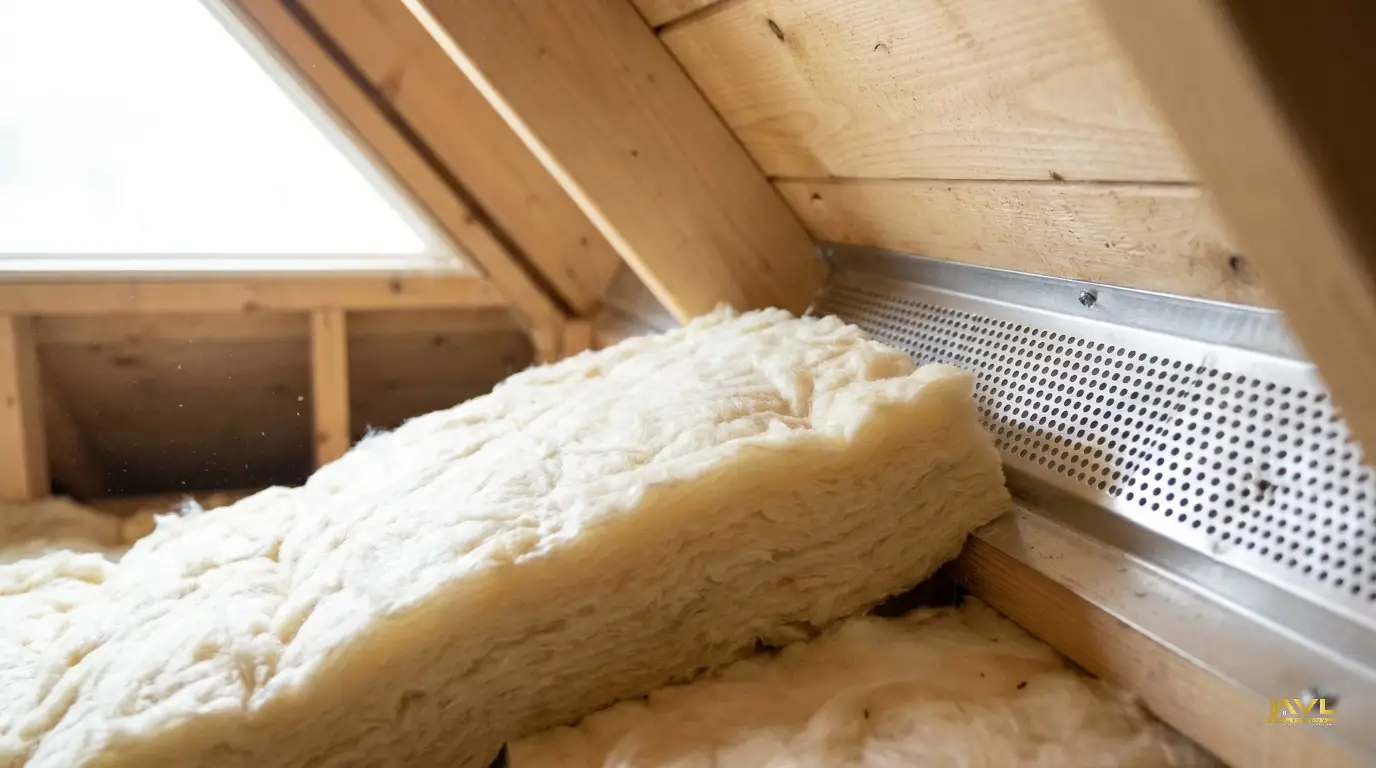
- Ventilation Check: Existing soffit vents are kept clear, often with baffles, and exhaust ventilation is confirmed.
- Clean-Up and Final Inspection: The work area is cleaned, and a final walkthrough confirms the work meets the agreed scope. If applicable, a post-retrofit energy assessment is completed for rebate qualification.
This sequenced approach helps ensure the insulation upgrade is effective and durable.
What Are the Benefits of Upgrading Attic Insulation?
Upgrading attic insulation provides more consistent indoor temperatures, lower energy use, and less strain on the heating and cooling system.
- Improved Comfort: A more consistent temperature throughout the home, with fewer cold upstairs bedrooms and drafts.
- Lower Energy Bills: By reducing heat loss in winter and heat gain in summer, the HVAC system does not need to work as hard. Many GTA homes see roughly 10% to 20% lower heating use after a proper attic upgrade, depending on the house and fuel rates.
- Extended HVAC Lifespan: A less stressed heating and cooling system typically lasts longer.
- Reduced Ice Dam Risk: A colder, drier attic in winter is less likely to melt roof snow into ice at the eaves.
- Stronger Resale Position: Documented envelope improvements support an energy-efficient listing, especially alongside other major home renovations.
- Moisture Control: Proper insulation and air sealing help prevent condensation in the attic, reducing the risk of mold and damage to roof decking and framing.
For late-fall roof, attic, and envelope checks before freeze-up, see our Toronto & GTA home maintenance checklist and the Fall Home Maintenance Checklist for Markham.
What Are Common Mistakes to Avoid During an Attic Insulation Project?
Common mistakes during an attic insulation project include neglecting air sealing, blocking ventilation, and skipping hazardous material testing. These errors can compromise both effectiveness and safety.
- Skipping Air Sealing: Adding more insulation over existing air leaks will not solve the problem. Air will still bypass the insulation, carrying heat and moisture into the attic. Air sealing should come first.
- Blocking Soffit Vents: Insulation must not block soffit vents at the eaves. These vents allow fresh air into the attic. Baffles should be installed to maintain clear airflow.
- Not Testing for Hazardous Materials: In older Toronto homes, especially those built before the 1990s, existing insulation or finishes may contain asbestos. Disturbing it without proper testing and abatement can release harmful fibers.
- Inadequate R-Value: Installing less insulation than needed for the climate leaves upstairs rooms under-performing. Aim for at least the OBC minimum, and often R-50 or higher for comfort.
- Compressing Insulation: Fiberglass batts or blown-in insulation lose effectiveness when compressed. Insulation should be installed to its full loft.
- Improper Recessed Light Fixture Treatment: Recessed lights that are not IC-rated should not be covered directly with insulation, as they can overheat. These fixtures need proper enclosures or replacement with IC-rated models.
- Ignoring Ductwork in the Attic: If heating and cooling ducts run through the attic, they must be properly sealed and insulated. Unsealed or uninsulated ducts can lose a significant amount of conditioned air.
A reputable contractor addresses these issues as part of a standard process. For professional assistance with seasonal envelope care, consider our professional home maintenance services.

Written by Ali Vaez
Founder & Principal Builder, AVL Custom Homes Inc.
BSc and MSc in Civil Engineering (Structural Engineering). Building since 2004 (outside Canada), serving the GTA since 2014, 17+ homes delivered.
Published: November 4, 2026 · 14 min read · 2,750 words
Ready to talk about your project?
AVL Custom Homes serves Toronto and the Greater Toronto Area — custom builds, renovations, and builder-led home maintenance.
Request a ConsultationOr call 647-466-6989
